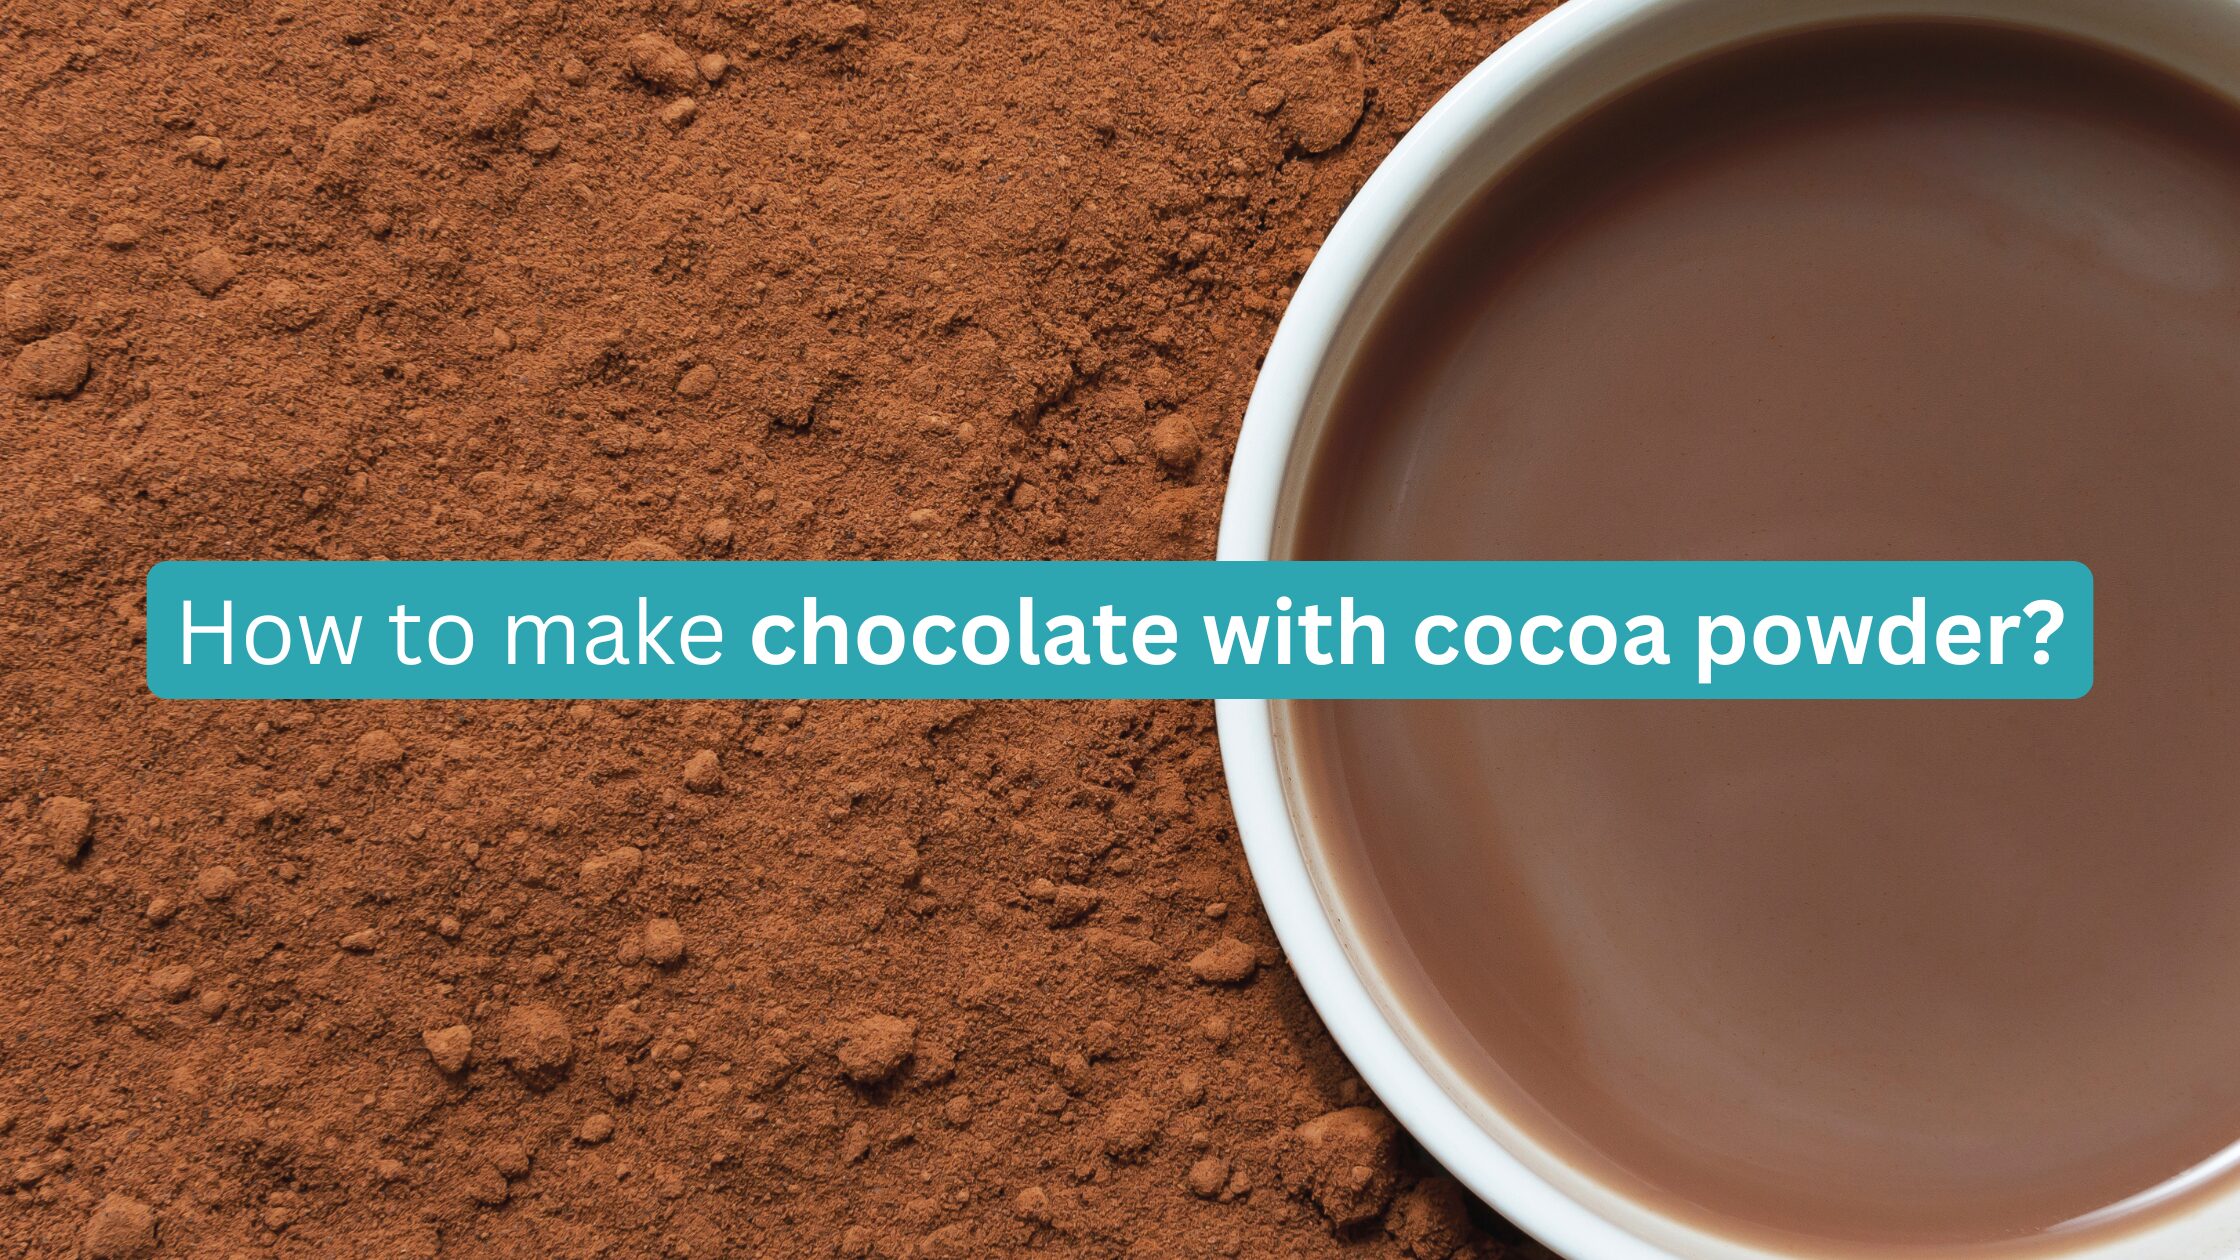
In this article, you will get to know how you can make chocolate with cocoa powder?
- Tools and Equipment
- Step-by-Step Guide: How to Make Chocolate with Cocoa Powder
- Detailed Instructions and Tips for Each Step
- Flavor Variations and Add-Ins and much more
Introduction
Making chocolate at home can be a rewarding and enjoyable experience, allowing you to customise flavours and ingredients to suit your preferences. The process is surprisingly simple, especially when using cocoa powder, which is an excellent base for creating rich and delicious chocolate treats. By opting for cocoa powder, you not only maintain control over the quality of your chocolate but also benefit from its lower fat content compared to traditional chocolate-making methods. This versatile ingredient opens up a world of possibilities, enabling you to create everything from classic bars to decadent desserts while ensuring a more health-conscious approach to enjoying chocolate.
Ingredients Needed
To create your homemade chocolate using cocoa powder, you’ll need the following ingredients:
- Cocoa Powder: The primary ingredient that gives your chocolate its rich flavour and dark colour.
- Cocoa Butter or Coconut Oil: Provides the necessary fat content to give your chocolate a smooth texture. Cocoa butter will yield a more traditional chocolate, while coconut oil offers a lighter option.
- Sweetener: To sweeten your chocolate base, choose your preferred sweeteners, such as granulated sugar, honey, or agave syrup.
- Vanilla Extract: A splash of vanilla enhances the overall flavour, adding depth and richness to the chocolate.
- Optional Add-ins: To customise your chocolate, consider including nuts, dried fruit, or spices such as cinnamon or sea salt for an extra flavour boost.
Optional Ingredients for Flavor Variations
While the basic recipe for homemade chocolate is delicious, adding optional ingredients can take your creations to the next level. Here are some ideas for flavour variations:
- Nuts: Chopped nuts such as almonds, walnuts, or hazelnuts can add a delightful crunch and an earthy flavour to your chocolate.
- Dried Fruit: Incorporating dried fruits like cranberries, raisins, or apricots introduces a sweet and chewy texture that balances the richness of the chocolate.
- Sea Salt: A sprinkle of sea salt can enhance the overall taste by contrasting the sweetness, creating a more complex flavour profile.
- Spices: Experiment with spices like cinnamon, nutmeg, or even a pinch of cayenne pepper for a surprising kick that complements the chocolate.
- Mint Extract: For a refreshing twist, add a few drops of mint extract to create a chocolate that evokes the essence of peppermint.
- Coffee: Mixing finely ground coffee or espresso can deepen the chocolate flavour and create a unique, richly satisfying treat.
Mix and match these optional ingredients to discover your perfect chocolate combination!
Tools and Equipment
You’ll need a few essential kitchen tools and equipment to successfully make chocolate at home using cocoa powder. These will help you achieve the perfect texture and ensure a smooth chocolate-making process.
Essential Kitchen Tools
- Mixing Bowls: A few mixing bowls in different sizes are necessary for combining your ingredients effectively.
- Whisk: A whisk will be useful for blending the cocoa powder, sweetener, and fats until smooth and well combined.
- Double Boiler: This setup, which consists of a pot filled with water and a heatproof bowl placed on top, allows for the gentle melting of cocoa butter or coconut oil without burning.
- Spatula: A rubber or silicone spatula is ideal for folding in any optional add-ins and ensuring everything is well integrated.
- Chocolate Molds: If you wish to create chocolate bars or shapes, silicone or plastic chocolate moulds will make the process easier and help achieve professional-looking results.
Optional Equipment
- Food Processor: For finely grinding any nuts or blending add-ins to create a smoother chocolate mixture.
- Candy Thermometer: Useful for monitoring the temperature of melted ingredients to ensure the perfect consistency.
- Piping Bags: If you’re looking to create intricate designs or fill moulds with precision, piping bags will come in handy.
Optional Tools to Enhance the Chocolate-Making Process
While the essential tools will get you started, incorporating certain optional tools can significantly enhance your chocolate-making experience and results. Here are a few recommended additions:
- Silicone Spatula: This tool is not only ideal for folding in your add-ins but also helps scrape down the sides of bowls efficiently, ensuring no ingredients are left behind.
- Candy Thermometer: Monitoring the temperature of your melted ingredients is key to achieving the perfect consistency. A candy thermometer provides precise readings, helping to prevent overheating the cocoa butter or coconut oil.
- Food Processor: If you’re adding nuts or other solid ingredients, a food processor can help achieve a finer texture, allowing for a smoother chocolate mixture.
- Piping Bags: For those looking to create decorative chocolate shapes or intricate designs, piping bags offer greater control and precision when pouring or shaping your chocolate.
- Sifting Tool: Using a fine-mesh sieve or sifter can help eliminate any lumps in your cocoa powder or sweeteners, contributing to a silky-smooth chocolate texture.
By utilizing these optional tools, you can refine your technique and enjoy a more streamlined chocolate-making process!
Step-by-Step Guide: How to Make Chocolate with Cocoa Powder
Creating your own chocolate at home can be a rewarding and indulgent experience. Follow this step-by-step guide to ensure your chocolate turns out perfectly every time.
Step 1: Gather Your Ingredients and Tools
Before you begin, make sure you have all the necessary ingredients and tools as listed previously. This will help streamline the process and ensure you don’t miss any crucial items.
Step 2: Melt the Fats
- Prepare the Double Boiler: Fill the bottom pot of your double boiler with water and place it on medium heat. Once the water is simmering, place the heatproof bowl on top.
- Add Cocoa Butter or Coconut Oil: Measure out your desired amount of cocoa butter or coconut oil and place it in the bowl. Allow it to melt gently, stirring occasionally.
Step 3: Mix the Cocoa Powder and Sweeteners
- Combine Ingredients: In a mixing bowl, combine the cocoa powder and your chosen sweetener. Use a whisk to mix them together until well combined.
- Add Warm Fats: Once the fat is fully melted, pour it into the bowl with the cocoa powder and sweetener mixture.
Step 4: Blend the Mixture
- Whisk Until Smooth: Use a whisk to thoroughly mix the chocolate mixture until it is smooth and free of lumps. Make sure everything is well combined for an even consistency.
- Add Vanilla Extract: Stir in the vanilla extract for added flavour.
Step 5: Incorporate Optional Ingredients
- Mix in Add-Ins: If you are using any optional ingredients like nuts, dried fruit, or spices, fold them into the chocolate mixture using a spatula.
- Taste and Adjust: Sample the mixture and adjust sweetness or flavour as needed before pouring.
Step 6: Pour into Molds
- Prepare Your Molds: If using chocolate moulds, ensure they are clean and dry. If desired, you can lightly grease them for easier removal.
- Fill the Molds: Carefully pour the chocolate mixture into the molds, filling them to the desired level. You can also use a spatula to smooth the surface if needed.
Step 7: Set the Chocolate
- Refrigerate: Place the filled molds in the refrigerator for about 1-2 hours or until the chocolate is completely set and firm to the touch.
- Room Temperature Option: Alternatively, if you prefer a softer texture, let the chocolate set at room temperature for a few hours.
Step 8: Unmold and Enjoy
- Remove from Molds: Gently pop the chocolate out of the molds once set. If the chocolate is stubborn, you can briefly place the moulds in the freezer for easy removal.
- Store Properly: Store your homemade chocolate in an airtight container in a cool, dry place to maintain its freshness.
Step 9: Experiment and Share
Now that you have your first batch of homemade chocolate, experiment with different flavour combinations and share your delicious creations with friends and family! Enjoy the fruits of your labour and the satisfaction of creating chocolate from scratch.
Detailed Instructions and Tips for Each Step
Step 1: Gather Your Ingredients and Tools
- Tip: Double-check that you have all your ingredients measured out and tools ready to avoid interruptions during the melting and mixing process.
Step 2: Melt the Fats
1- Prepare the Double Boiler: Fill the bottom pot with water, ensuring it doesn’t touch the bowl on top. Bring the water to a gentle simmer to prevent burning the fats.
- Tip: Keep the heat on medium to low to maintain controlled melting and avoid scorching the fats.
2- Add Cocoa Butter or Coconut Oil: Place fats in the bowl and stir occasionally.
- Tip: Use a heatproof spatula to keep the melted fats from splattering.
Step 3: Mix the Cocoa Powder and Sweeteners
1- Combine Ingredients: Whisk together the cocoa powder and sweetener in a mixing bowl until blended.
- Tip: Sifting the cocoa powder before mixing can help eliminate lumps for a smoother chocolate.
2- Add Warm Fats: Pour the melted fats into your dry mixture.
- Tip: Ensure the fats are warm but not boiling to help incorporate the ingredients smoothly.
Step 4: Blend the Mixture
1- Whisk Until Smooth: Use a whisk to combine the mixture thoroughly.
- Tip: If your mixture is clumpy, use an immersion blender for a perfectly smooth consistency.
2- Add Vanilla Extract: Stir in vanilla extract for a depth of flavour.
- Tip: Taste the mixture after adding vanilla and adjust as necessary for personal preference.
Step 5: Incorporate Optional Ingredients
1- Mix in Add-Ins: Gently fold any nuts, dried fruit, or spices with the spatula.
- Tip: If using larger chunks, chop them into smaller pieces to ensure even distribution throughout the chocolate.
2- Taste and Adjust: Sample the mixture to evaluate sweetness and flavour before pouring.
- Tip: Remember that the chocolate’s final taste after setting will be more subdued, so aim for a slightly sweeter blend.
Step 6: Pour into Molds
1- Prepare Your Molds: Ensure moulds are clean and dry, optionally lightly greasing them.
- Tip: For silicone molds, greasing is usually unnecessary, but a light dusting of cocoa powder can aid in release.
2- Fill the Molds: Carefully pour the chocolate mixture without overfilling.
- Tip: Tap the moulds gently on the counter to eliminate air bubbles for a smoother surface.
Step 7: Set the Chocolate
1- Refrigerate: Chill moulds for 1-2 hours until firm.
- Tip: Cover with plastic wrap to ensure they don’t absorb any odours from the fridge.
2- Room Temperature Option: Allow chocolates to set at room temperature for a softer texture.
- Tip: Be mindful of humidity, which can affect the setting process.
Step 8: Unmold and Enjoy
1- Remove from Molds: Carefully pop out the chocolates.
- Tip: If they resist, run warm water over the mould’s exterior to help loosen them.
2- Store Properly: Keep your chocolate in an airtight container away from heat and light.
- Tip: Wrap pieces in parchment paper before storing them to prevent them from sticking together.
Step 9: Experiment and Share
- Tip: Document your flavour combinations and share them with others, encouraging them to create variations. Experimenting is essential to discovering your perfect chocolate recipe!
Tips for Success
Creating delicious homemade chocolate can be a rewarding experience. With a few expert tips, you can ensure your chocolate is smooth and delightful.
- Adjusting Sweetness: Taste your mixture before pouring it into moulds. If it’s not sweet enough, gradually add a little more sweetener. Remember that the chocolate’s flavour will mellow after setting, so aim for a slightly sweeter profile. For more insights on sweetening chocolate, check out this guide on sweeteners.
- Achieving the Right Consistency: To ensure a smooth consistency, monitor the temperature of your fats while melting. Fats that are too hot can scorch, leading to texture issues. Incorporating the cocoa powder and sweeteners when the fats are warm (but not boiling) will help to integrate everything smoothly. For a deeper dive into chocolate tempering techniques, visit [this temperature control article](https://www.example.com/chocolate-tempering).
Preventing Common Issues:
- Grainy Texture: This can happen if the sugar doesn’t dissolve properly. Whisk until the mixture is lump-free. If necessary, use an immersion blender for a smoother result.
- Separation: If the fats and solids start to separate, it may be due to the mixture cooling too quickly or overheating during the melting phase. Maintaining a consistent and moderate temperature while blending will help prevent this.
Flavor Variations and Add-Ins
Customizing your chocolate can be an exciting adventure, allowing you to experiment with diverse flavours and textures. Here are some popular suggestions for flavour variations and optional add-ins:
Flavor Variations
- Mint: Add a few drops of peppermint extract to your melted fats for a refreshing mint chocolate experience. You can also incorporate crushed mint leaves for a more natural flavour.
- Orange Zest: Grate the zest of an orange and mix it into your chocolate for a bright, citrusy taste that complements the richness of the cocoa.
- Chilli Powder: For those who enjoy a bit of heat, adding a pinch of chilli powder or cayenne pepper can create a spicy chocolate treat that tantalizes your taste buds.
- Coffee: Mix in instant coffee granules or espresso powder to achieve a rich mocha flavour that pairs beautifully with chocolate.
- Nut Butter: Swirl in your choice of nut butter, like almond or peanut butter, to create a creamy, indulgent taste and added texture.
Types of Chocolate
- Dark Chocolate: To create a rich dark chocolate, use a higher ratio of cocoa powder (approximately 70% or more) and adjust the sweetener to taste. This will enhance the bold flavours while keeping the chocolate sugar-conscious.
- Milk Chocolate: For a creamier milk chocolate, incorporate milk powder, powdered milk alternative, and cocoa powder. Aim for a sweetness level that complements the richness of the milk.
- White Chocolate: Although traditional white chocolate isn’t made using cocoa powder, you can mimic its sweetness with cocoa butter, sugar, and milk powder. Dissolve the cocoa butter gently, and mix in sweetener and milk to achieve that characteristic creamy texture.
Feel free to experiment with these suggestions and create personalized combinations that reflect your unique taste preferences!
Storing and Serving Homemade Chocolate
Best Methods for Storing Homemade Chocolate
Proper storage is essential to ensure your homemade chocolate maintains its quality and freshness. Store your chocolate in an airtight container, ideally in a cool, dry place away from direct sunlight and heat sources. The ideal temperature for storing chocolate is between 15°C to 18°C (59°F to 65°F). If you live in a warmer climate and require refrigeration, wrap the chocolate tightly in plastic before placing it in the fridge to prevent moisture absorption and odour transfer. Allow the chocolate to come to room temperature before unwrapping to avoid condensation, which can affect texture and appearance.
Serving Suggestions
Homemade chocolate can be a delightful treat on its own or creatively incorporated into various culinary experiences. Here are some serving suggestions:
- As Gifts: Package your chocolate in decorative boxes or tins, and add a personal touch with labels or handwritten notes. Gift sets can also include different flavour variations, making them thoughtful presents for friends and family.
- In Baking: Use your homemade chocolate in baking recipes, such as brownies, cookies, or cakes. Shaving or chopping the chocolate into smaller pieces makes for perfect chocolate chunks that melt beautifully during baking.
- Paired with Wine: Elevate your chocolate-tasting experience by pairing it with wine. Dark chocolate complements robust red wines such as Cabernet Sauvignon, while milk chocolate pairs wonderfully with fruity white or dessert wines.
- Chocolate Fondue: Melt your homemade chocolate to create a luscious fondue that is perfect for dipping fruits, marshmallows, or pieces of cake, making for an engaging and interactive dessert option.
- Garnishing Desserts: Finely grate or shave your chocolate as a garnish on desserts like ice cream, panna cotta, or mousse, adding both flavour and visual appeal.
Conclusion
In this article, we explored the delightful journey of making your chocolate at home, from selecting suitable sweeteners and achieving the perfect consistency to experimenting with various flavour variations and add-ins. We also highlighted the best methods for storing and serving homemade creations, ensuring they remain fresh and enjoyable. We encourage you to embrace this rewarding culinary adventure and experiment with different ingredients to craft chocolate that reflects your tastes. Don’t forget to share your experiences and creations with friends and family and any unique combinations you come up with! Happy chocolate making!


